

Adding Domains Manually
For a handful of domains, or adding one new domain as it’s registered, manual entry from the dashboard is the fastest path. If you’re bringing in domains you already manage elsewhere in bulk, see Bulk Import instead.
Adding a domain
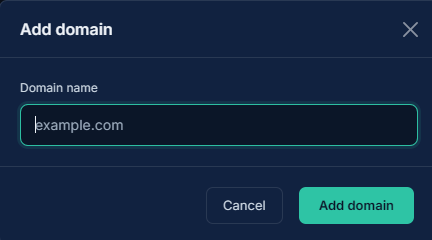
Section titled “Adding a domain”From Domains, click Add domain and enter the domain name.
Expirity validates the domain format and checks it isn’t already in your account before inserting it - duplicates aren’t allowed per account.
What happens immediately after
Section titled “What happens immediately after”The domain is inserted right away with no expiry data yet, and a check is kicked off in the background. You don’t need to wait - the Add another option in the success dialog lets you keep adding domains while the first one is still being checked.
The dashboard polls automatically and the domain row updates in place as soon as expiry, registrar, nameserver, and SSL data come back - typically within a few seconds.
Assigning to a client (Agency)
Section titled “Assigning to a client (Agency)”On the Agency plan, you can assign a domain to a client folder at the time of adding it, or leave it unassigned to keep it in your own account. Unassigned domains aren’t lost - they’re grouped under the Account view on the Clients page and can be assigned to a client later.
Domain limits
Section titled “Domain limits”Each plan has a base domain limit, expandable with domain packs. If you’re at or near your limit, the Add domain button shows the limit status and a domain pack option rather than blocking outright - see Domain Limits & Packs.
Pausing instead of removing
Section titled “Pausing instead of removing”If you want to stop monitoring a domain temporarily without losing its history, use Pause rather than deleting it - see Activity Log for how paused domains behave.