

Quick Start
This guide gets your first domain monitored in under five minutes. No credit card required - the Starter plan is free for up to 50 domains.
1. Sign in with Google
Section titled “1. Sign in with Google”Expirity uses Google sign-in only - there’s no separate password to create or manage. Go to console.expirity.io and sign in with the Google account you want tied to your Expirity account.
Your account is created automatically on first login, on the free Starter plan.
2. Add your first domain
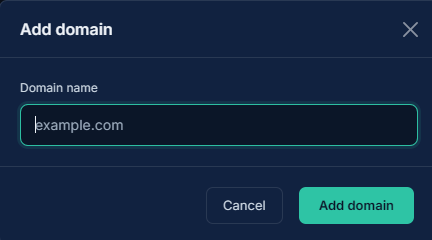
Section titled “2. Add your first domain”From the dashboard, click Add domain and enter the domain name (e.g. example.com).
Expirity adds the domain immediately and kicks off a check in the background - you don’t need to wait for it to load before adding more.
Already managing domains elsewhere? You can skip manual entry and pull domains in directly - see Bulk Import for Namecheap, GoDaddy, Route 53, and CSV import.
3. Watch the data populate
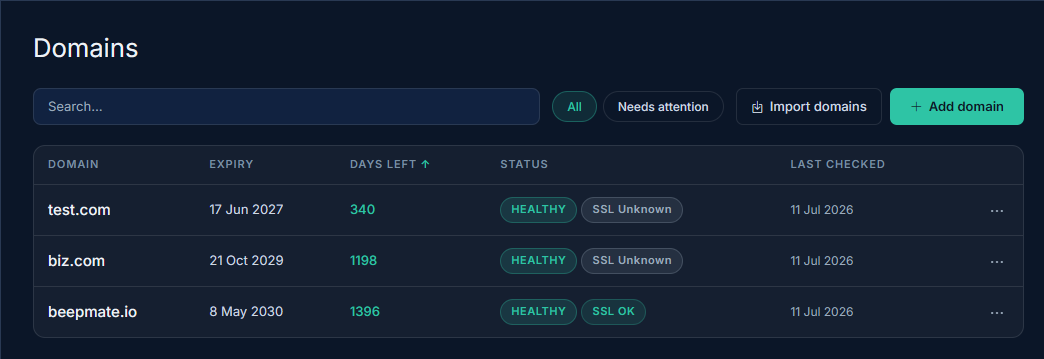
Section titled “3. Watch the data populate”Within seconds, the domain row updates in place with:
- Expiry date and days remaining
- Registrar
- Nameservers
- SSL certificate status
No page reload needed - the dashboard polls automatically while the first check completes.
4. Set up alerts
Section titled “4. Set up alerts”By default, Expirity emails you when a domain is approaching expiry or its SSL certificate needs attention. Head to Notifications to review or adjust thresholds, and connect Slack, Discord, or WhatsApp if you want alerts somewhere other than email - see Alerts & Notifications.
What’s next
Section titled “What’s next”- Understand what each plan unlocks in Understanding Plans
- Managing domains on behalf of clients? Start with Client Folders
- Want programmatic access? See the API overview